
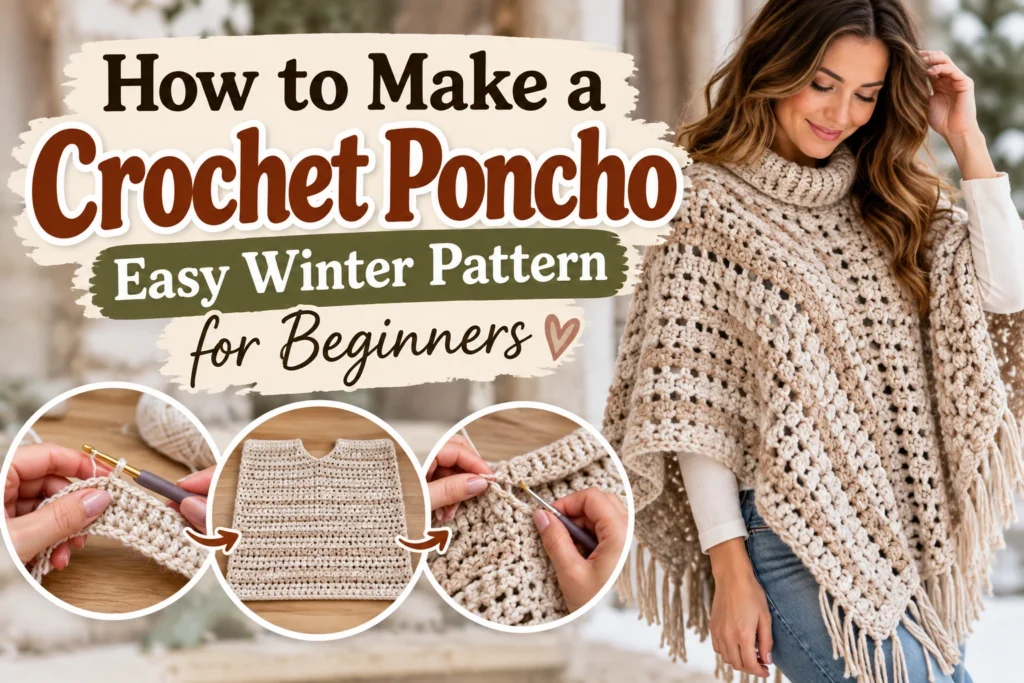
If you’re wondering how to make a crochet poncho, this beginner-friendly winter pattern is a simple place to start. We’ll make a warm women’s size L poncho from one large rectangle using basic double crochet stitches. There are no increases, decreases, or complicated shaping, so you can focus on keeping your stitches even and enjoying the process.
I chose a soft worsted-weight yarn because it gives this winter poncho warmth without making the fabric too stiff. Before starting, make a gauge swatch and measure as you work. That small step makes the finished fit much more predictable.
Table of Contents
Easy Winter Crochet Poncho Pattern at a Glance
- Skill level: Complete beginner
- Size: Women’s L, relaxed fit
- Construction: One rectangle, folded and seamed
- Main stitch: Double crochet
- Yarn: Category 4 worsted-weight yarn
- Hook: 6 mm (J/10), or size needed to match gauge
- Finished rectangle: approximately 30 x 60 in (76 x 152 cm) before assembly
Materials You’ll Need
For this size L winter poncho, choose approximately 1,200–1,400 yards (1,100–1,280 m) of Category 4 worsted-weight yarn. A soft acrylic or acrylic-wool blend is a practical beginner choice because it is warm, widely available, and usually easy to care for. You’ll also need a 6 mm crochet hook, scissors, a yarn needle, measuring tape, and a few locking stitch markers.
Don’t buy yarn by yardage alone: check the yardage printed on each skein and make sure all skeins are from the same dye lot when possible.
Gauge and Finished Size
For this tutorial, aim for approximately 12 double crochet stitches x 7 rows = 4 inches (10 cm) after gently blocking your swatch. The target rectangle is about 30 inches wide and 60 inches long. Because crochet tension varies, the measurements matter more than blindly copying a stitch count.
If your swatch is wider than 4 inches, try a smaller hook. If it is narrower, try a larger hook. Wash or block your swatch the same way you plan to care for the finished poncho.
Crochet Abbreviations (US Terms)
- ch – chain
- dc – double crochet
- sc – single crochet
- sl st – slip stitch
- st(s) – stitch(es)
How to Make a Crochet Poncho Step by Step
Step 1: Make the Foundation Chain
Start by making a loose foundation chain. At the target gauge, chain 92. This gives you 90 working stitches after the turning chains and should produce a width close to 30 inches. If your gauge differs, adjust the foundation chain until it measures about 30 inches without stretching it.
Keep the chain relaxed. A tight starting chain can pull the bottom of the rectangle inward. If you naturally chain tightly, use a hook one size larger for the foundation chain, then return to your 6 mm hook.
Step 2: Crochet the Main Rectangle
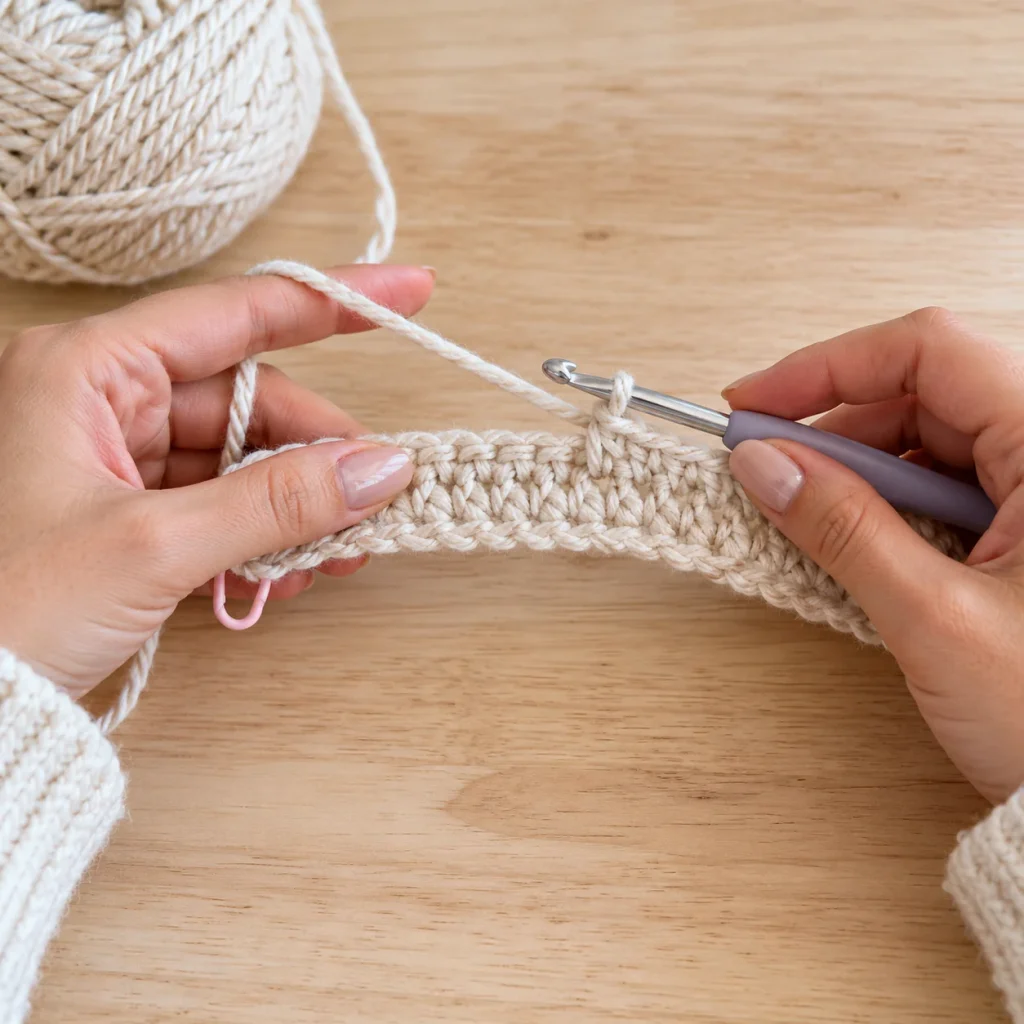
Row 1: Double crochet in the 4th chain from the hook. Work 1 dc in each remaining chain across. You should have 90 dc, counting the skipped turning chains as the first stitch if you use that convention.
Row 2: Chain 3 and turn. Work 1 dc in each stitch across.
Repeat Row 2 until your rectangle measures approximately 60 inches (152 cm) long. Measure the piece on a flat surface every several rows instead of relying only on row count. Your tension can change as you become more comfortable.
For neat edges, count your stitches at the end of every few rows. Beginners often accidentally skip the first or last stitch, which slowly makes a rectangle narrower.
Step 3: Check the Rectangle Before Seaming
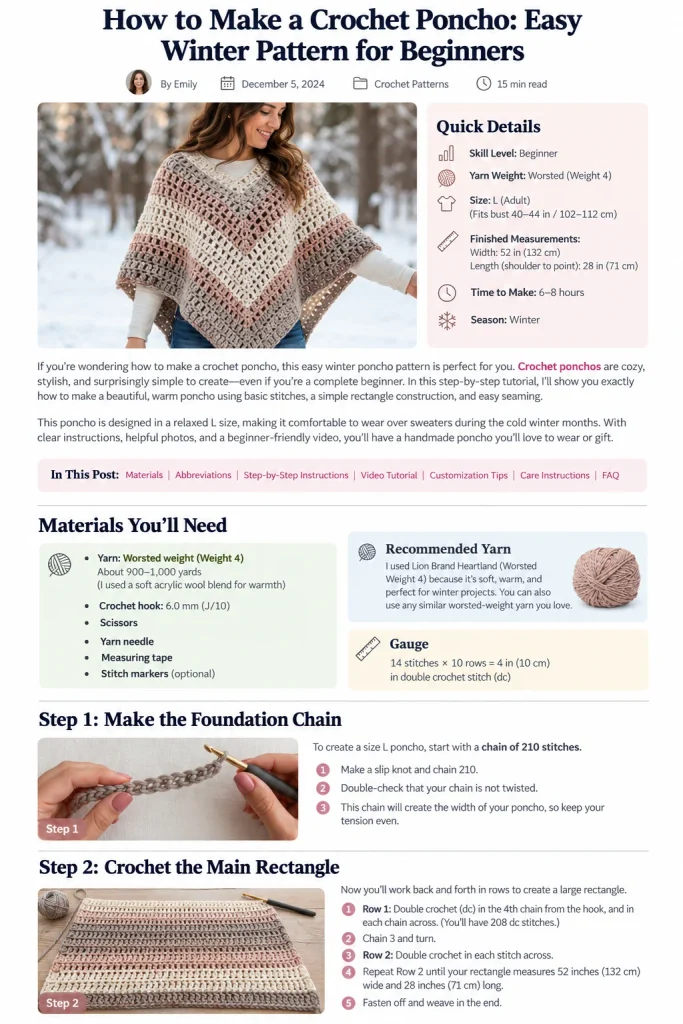
Lay your work flat and smooth it gently. Check that both long edges are reasonably straight and that the piece measures close to 30 x 60 inches. Small differences can usually be improved with blocking.
At this point, weave in any loose ends that will be difficult to reach after assembly. If your yarn label allows wet blocking, dampen the rectangle, shape it to the target measurements, and let it dry completely before joining.
Step 4: Fold and Create the Neck Opening
Now comes the part that turns a simple rectangle into a wearable poncho. Fold the rectangle in half so the two short ends meet, creating a piece about 30 x 30 inches. Place stitch markers along the edge before sewing so you can test the neckline.
Leave an opening of approximately 11–12 inches (28–30 cm) for the head and neck. Because everyone prefers a slightly different neckline, try the folded piece against your shoulders before making the seam permanent. The opening should pass comfortably over your head without becoming so wide that the poncho slips off your shoulders.
Step 5: Join the Poncho
Thread a long length of matching yarn onto your yarn needle. Sew the aligned edge from the outside toward your neckline marker using a whip stitch or mattress stitch. Keep the seam secure but not tight; an overly tight seam can pucker the fabric.
If you prefer to join with your hook, single crochet through both layers along the same section. Stop at the neckline marker, fasten off securely, and weave the tail into the wrong side.
Step 6: Add a Simple Winter Border
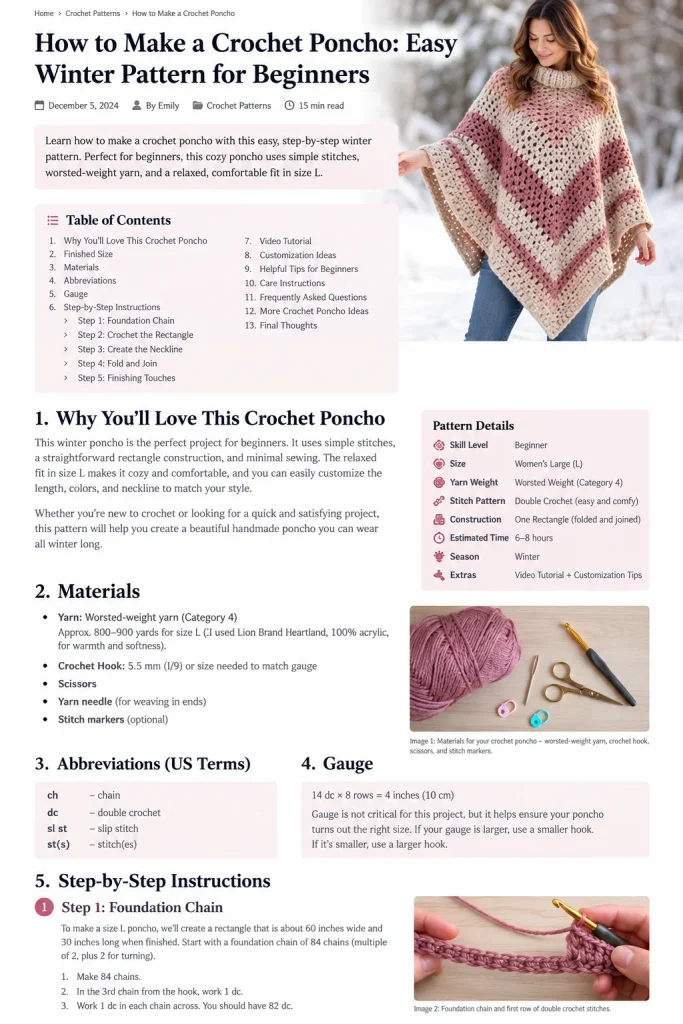
A border is optional, but I like it on a winter poncho because it makes the edges look more finished. Join yarn at an inconspicuous point and work one round of single crochet evenly around the outer edge. At corners, add extra stitches only when needed to help the border lie flat.
You can also add fringe along the lower edges. Cut equal lengths of yarn, fold two or three strands in half, pull the folded loop through an edge stitch, then draw the yarn ends through the loop.
Beginner Tips That Make This Pattern Easier
Use stitch markers at the first and last stitch of a row until you are confident about identifying your edges. Stop every 5–10 rows to count stitches and check the width. Most beginner problems are easier to fix after one row than after twenty.
Also pay attention to drape. A poncho should fall comfortably around the body. If your fabric feels hard or board-like, your tension may be too tight. Making a fresh swatch with a slightly larger hook can improve the result.
Video Tutorial for Visual Learners
If you learn better by watching the construction, the Crochet with Linni beginner poncho video tutorial demonstrates a one-rectangle approach, including the foundation chain, sizing, neck opening, and joining. Use it as visual support while following the measurements and instructions in this pattern.
How to Customize Your Winter Poncho
Once you understand how to make a crochet poncho from a rectangle, customization becomes easy. For a longer poncho, make the rectangle wider before you begin. For more fullness around the body, increase its length. Always make changes based on measurements and your gauge rather than adding random stitches.
For extra winter warmth, add a simple ribbed or tall collar after assembly. If this is your first garment, though, I recommend finishing the basic version first. You can always add a collar later.
For another beginner project and a different construction style, see my 7-step crochet poncho pattern for beginners. You can also browse more crochet patterns when you’re ready for your next project.
Frequently Asked Questions
How much yarn do I need to make a crochet poncho?
For this relaxed women’s size L pattern, plan on roughly 1,200–1,400 yards of worsted-weight yarn. Your exact usage depends on gauge, yarn, border, and any fringe or collar you add.
What is the easiest crochet poncho for a beginner?
A rectangle poncho is one of the simplest constructions because the main fabric is worked straight without shaping. Once the rectangle is complete, you fold and seam it while leaving an opening for your head.
What crochet stitch is good for a warm poncho?
Double crochet is a good beginner option because it works up faster than single crochet while still creating a cozy fabric in worsted-weight yarn. If you want a denser poncho, you can experiment with half double crochet after you understand how changing stitches affects gauge.
How big should a crochet poncho be for size L?
There is no universal size because ponchos vary from fitted to oversized. This tutorial uses a rectangle of approximately 30 x 60 inches before folding and seaming. Always compare the measurements with a garment you like and check the neckline before permanently sewing it.
How long does it take to crochet a poncho?
A simple double-crochet poncho may take several evenings for a beginner. Your speed, yarn, hook size, breaks, and finishing choices all affect the total time, so there is no need to rush.
Final Thoughts
Learning how to make a crochet poncho is much less intimidating when you begin with a simple shape. This winter pattern is essentially one large rectangle, a carefully measured neck opening, and one seam. Take time to check your gauge and measurements, keep your edges straight, and try the neckline before finishing the seam.
Once you’ve made this version, you’ll understand the basic construction well enough to experiment with colors, textured stitches, fringe, or a cozy collar. Most importantly, you’ll have a warm handmade layer you created one row at a time.