
If you love a lightweight bag that feels just right for summer, this pink crochet cotton slouch bag is lovely inspiration. The Naya Bag pattern in the downloadable PDF features an airy diamond mesh, softly rounded bottom, gathered top, and two long integrated handles. It’s a different construction from a solid crochet tote: you make an openwork panel, gather its edges, then crochet the upper border and handles.
I’ll explain the materials, lace stitches, shaping, and finishing in a friendly step-by-step format. Where the source PDF is unclear, I’ll point it out rather than guess at stitch counts.
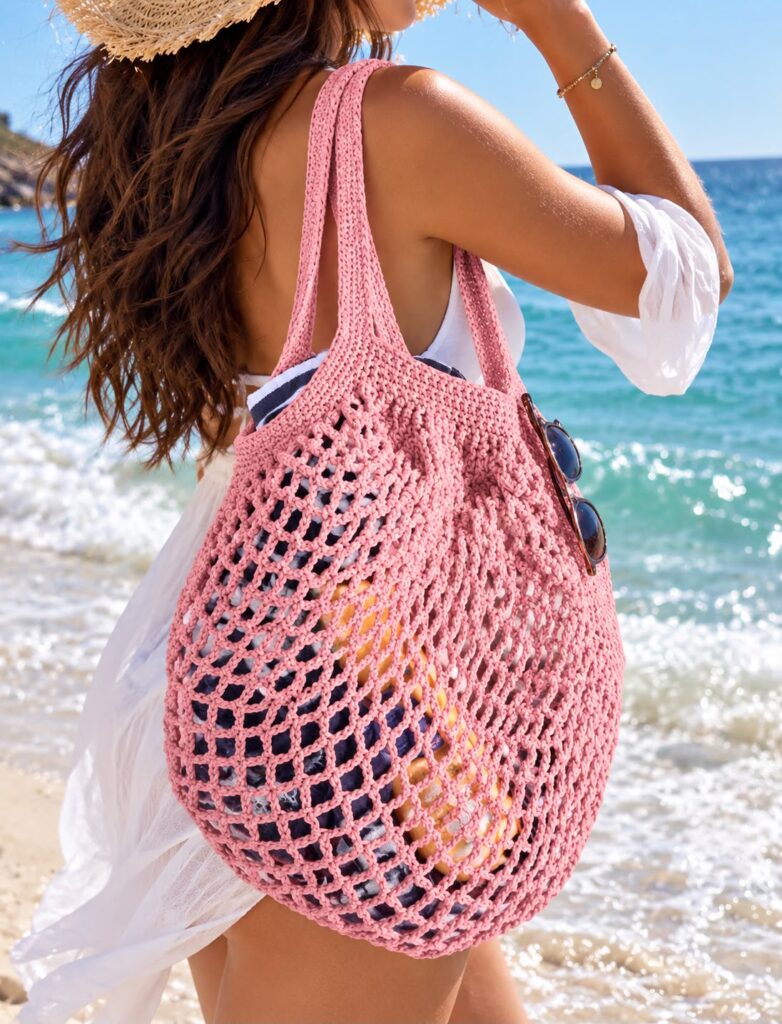
Table of Contents
Crochet cotton slouch bag: pattern overview
- Yarn: two 100 g skeins of Pima cotton
- Hook: 6 mm
- Tools: yarn needle, scissors, stitch marker
- Stitches: chain, single crochet, working into chain spaces, skipping stitches, single crochet decreases
- Gauge: 4 lace arches and 8 rows over 10 × 10 cm (4 × 4 in)
The PDF does not specify a dependable finished size or yarn yardage. Check your gauge before making the full bag. This is best for an adventurous beginner who is comfortable counting lace repeats.
Why cotton works for this mesh beach bag
Pima cotton creates a soft, drapey mesh that feels comfortable against your shoulder. The airy holes give this bag its beach-ready look, but small items can slip through them. A little zip pouch or lightweight lining makes it more practical. Cotton may stretch under weight, so avoid overloading the handles.
Understand the Naya Bag construction
Rather than beginning with a solid base, the Naya Bag begins with 116 chains and a 35-row open lace panel worked widthwise. Two gathered side borders shape the body. Finally, the opening and both handles are crocheted in continuous rounds. The PDF includes some ambiguous repeat and decrease placement instructions, so check its photos carefully as you work.
Step 1: Make the foundation chain
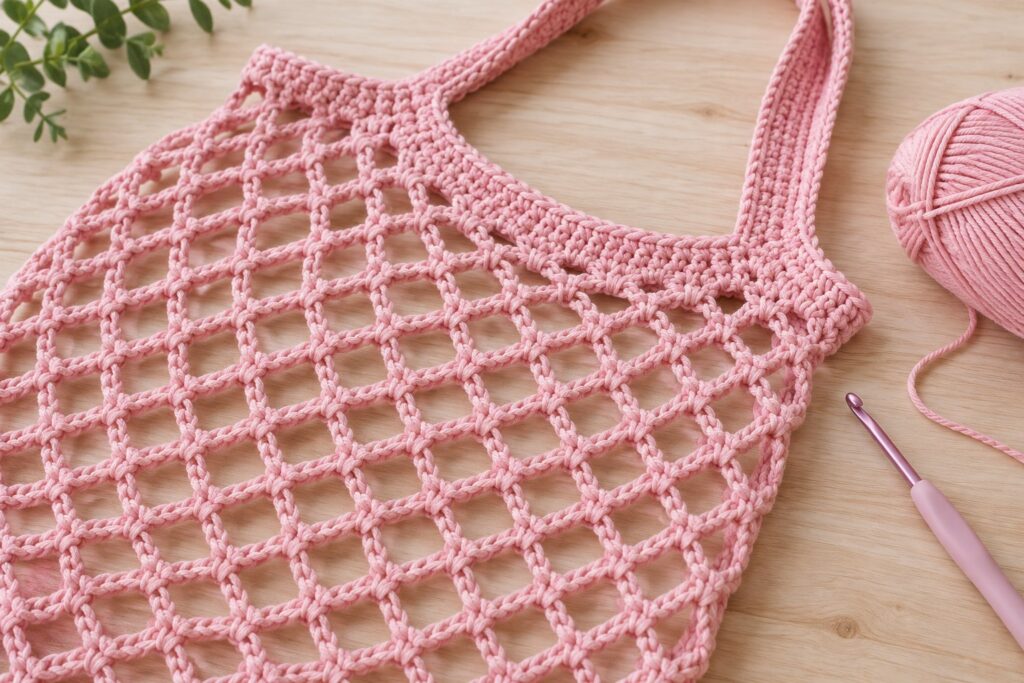
With your 6 mm hook, chain 116 using Pima cotton. Keep the foundation loose and even so that the mesh has room to open naturally. You are making a wide lace panel, not a narrow rectangular base.
Step 2: Crochet 35 rows of lace mesh
Row 1: Work one single crochet into the eighth chain from your hook. Repeat: chain 5, skip 3 chains, single crochet into the next chain; continue as directed to the row end and turn. Rows 2–34: repeat chain 5 and single crochet into the next chain space, turning after each row. Row 35: work chain-4 arches with single crochets in the chain spaces.
The PDF’s first-row repeat does not divide neatly into the 116-chain foundation, so its exact end placement needs checking against the photographs. Avoid forcing an extra incomplete repeat.
Step 3: Gather the first side
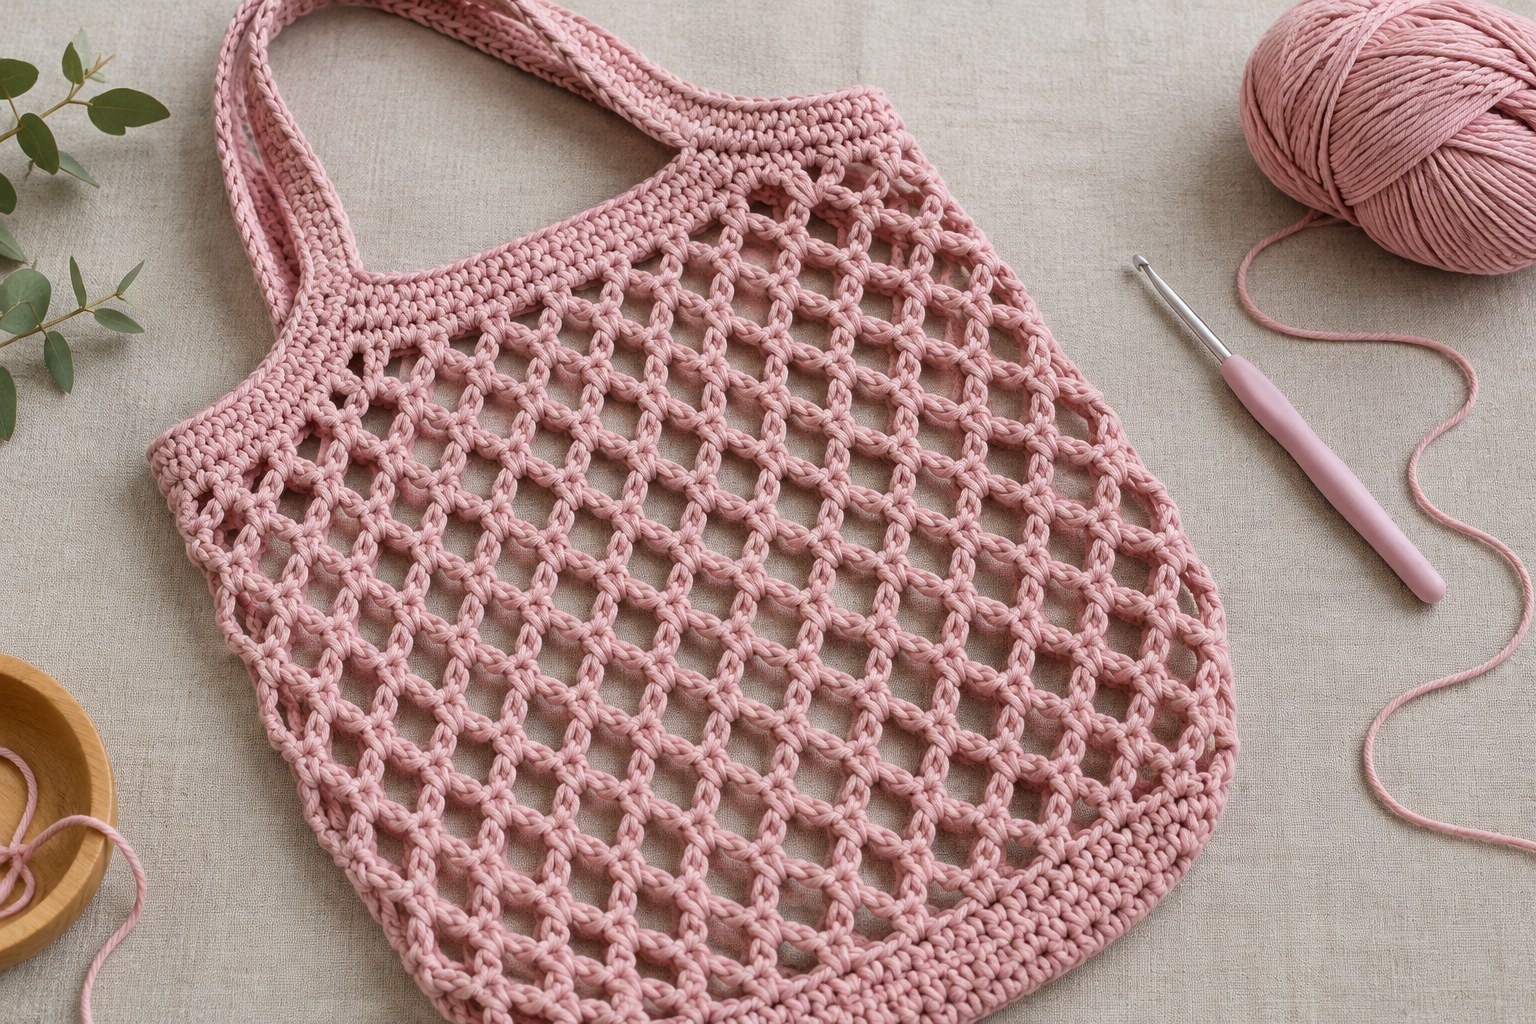
Turn the lace panel 90 degrees without cutting your yarn. Work single crochet into the chain spaces along one side, gathering this edge to 17 stitches according to the PDF. Work five more rows of single crochet over these 17 stitches. The source counts the starting chain 1 as the first stitch in these border rows, so take care not to add an accidental extra stitch.
Step 4: Repeat on the opposite side
Fasten off after the first side border. Repeat the same six-row, 17-stitch border on the opposite edge. This time leave the working yarn attached so you can move straight into the upper edging and handles.
Step 5: Shape the top and chain the handles
Continue in a spiral. The PDF describes five single crochets along a border, two single crochets in each chain space, and five single crochets along the other border, giving 66 stitches along one side. Chain 60 for a handle, skip the 17 top stitches, and repeat for the other side. Place a marker at the start of the round. The exact placement of all sections is not fully clear in the PDF text; use its page 6 illustrations as a visual reference.
Step 6: Reinforce the opening and handles
The PDF’s second spiral round describes 21-stitch single-crochet sections, 12 decreases, and 60 single crochets into each handle chain section. Because the sequence is ambiguous in the source, verify the decreases and placement against the PDF before working this round. Rounds 3–6 are single crochet into every stitch around, strengthening the handles and opening.
Step 7: Finish your soft cotton bag
Fasten off after the six finishing rounds and weave in all yarn tails securely. The PDF contains a small conversion error, calling 3 inches 15 cm; leave a generous tail rather than relying on that measurement. Shape the bag gently and dry flat if washing is permitted by your yarn label.
For more bag-making inspiration, explore this beginner-friendly crochet tote bag. If you enjoy playful color combinations, you’ll also like the colorful granny square shoulder bag. For a seasonal variation, see the Halloween crochet tote bag pattern.
Helpful tips for the open mesh fabric
Keep the chain arches even, and count them regularly. If your lace fabric looks too tight, try a larger hook after checking gauge. A small zip pouch is useful for keys and other items that might fall through the mesh. Cotton stretches with weight, so avoid carrying heavy loads in this openwork design.
Frequently asked questions
Is this mesh bag beginner-friendly?
It uses basic stitches, but the gathered borders and handle shaping require careful counting. It’s better for a confident beginner than a first-ever crochet project.
How long does this bag take?
Allow several crafting sessions. The lace panel is repetitive, while the gathered borders and handle rounds deserve extra attention.
Can I wash my cotton mesh bag?
Follow the Pima cotton yarn label. Gently reshape and dry flat so the wet mesh does not stretch out of shape.
Can I follow a video?
See this crochet bag video for visual inspiration. Its instructions have not been verified against the Naya Bag PDF.
Download the Naya Bag pattern PDF
A soft mesh bag for sunny days
With its pink cotton mesh and relaxed shape, this bag is a beautiful project for warm days. The gathered opening and integrated handles give it its signature silhouette. Enjoy the lace stitching, check the shaping carefully, and make something you’ll love taking to the beach or market.