
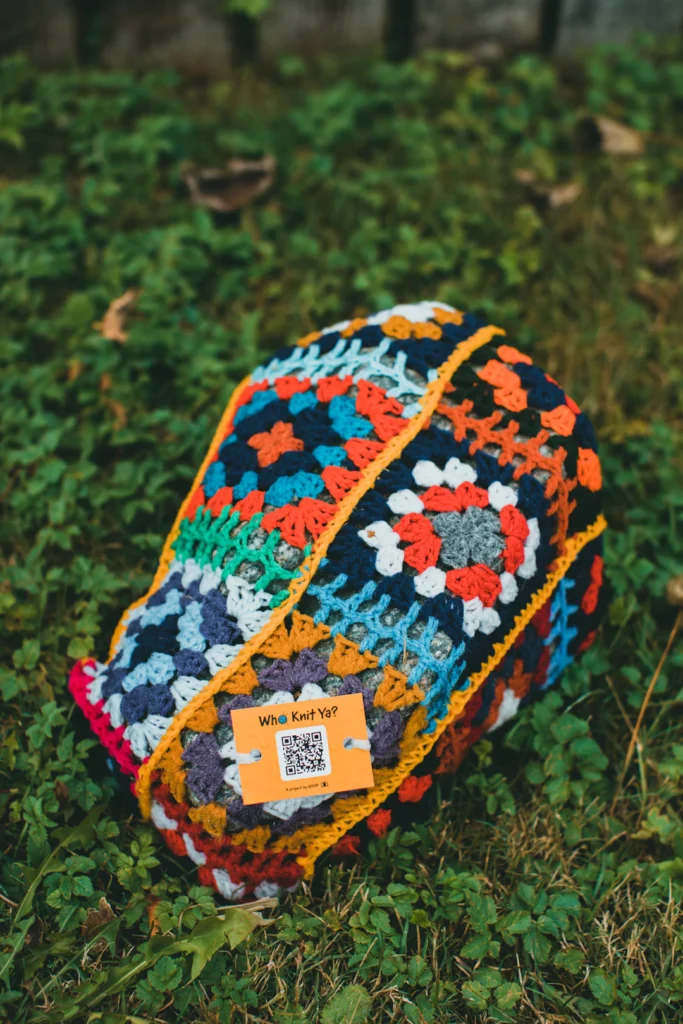
This crochet bag pattern gives you a complete way to make a colorful patchwork shoulder bag from nineteen four-round granny squares. I wanted a design that beginners can actually put together without guessing where the base, sides or handles go. Each square uses familiar double crochet groups, while a matching cream border brings all your leftover yarn colors together.
The inspiring bag in the reference photo has a structured rectangular shape, flower-like squares and cream handles. This is my simpler original granny square interpretation, not a reproduction of the separate designer pattern sold on Etsy. Below you will find exact round counts, a diagram explained in words, practical seam order and the finishing details that make a handmade bag useful.
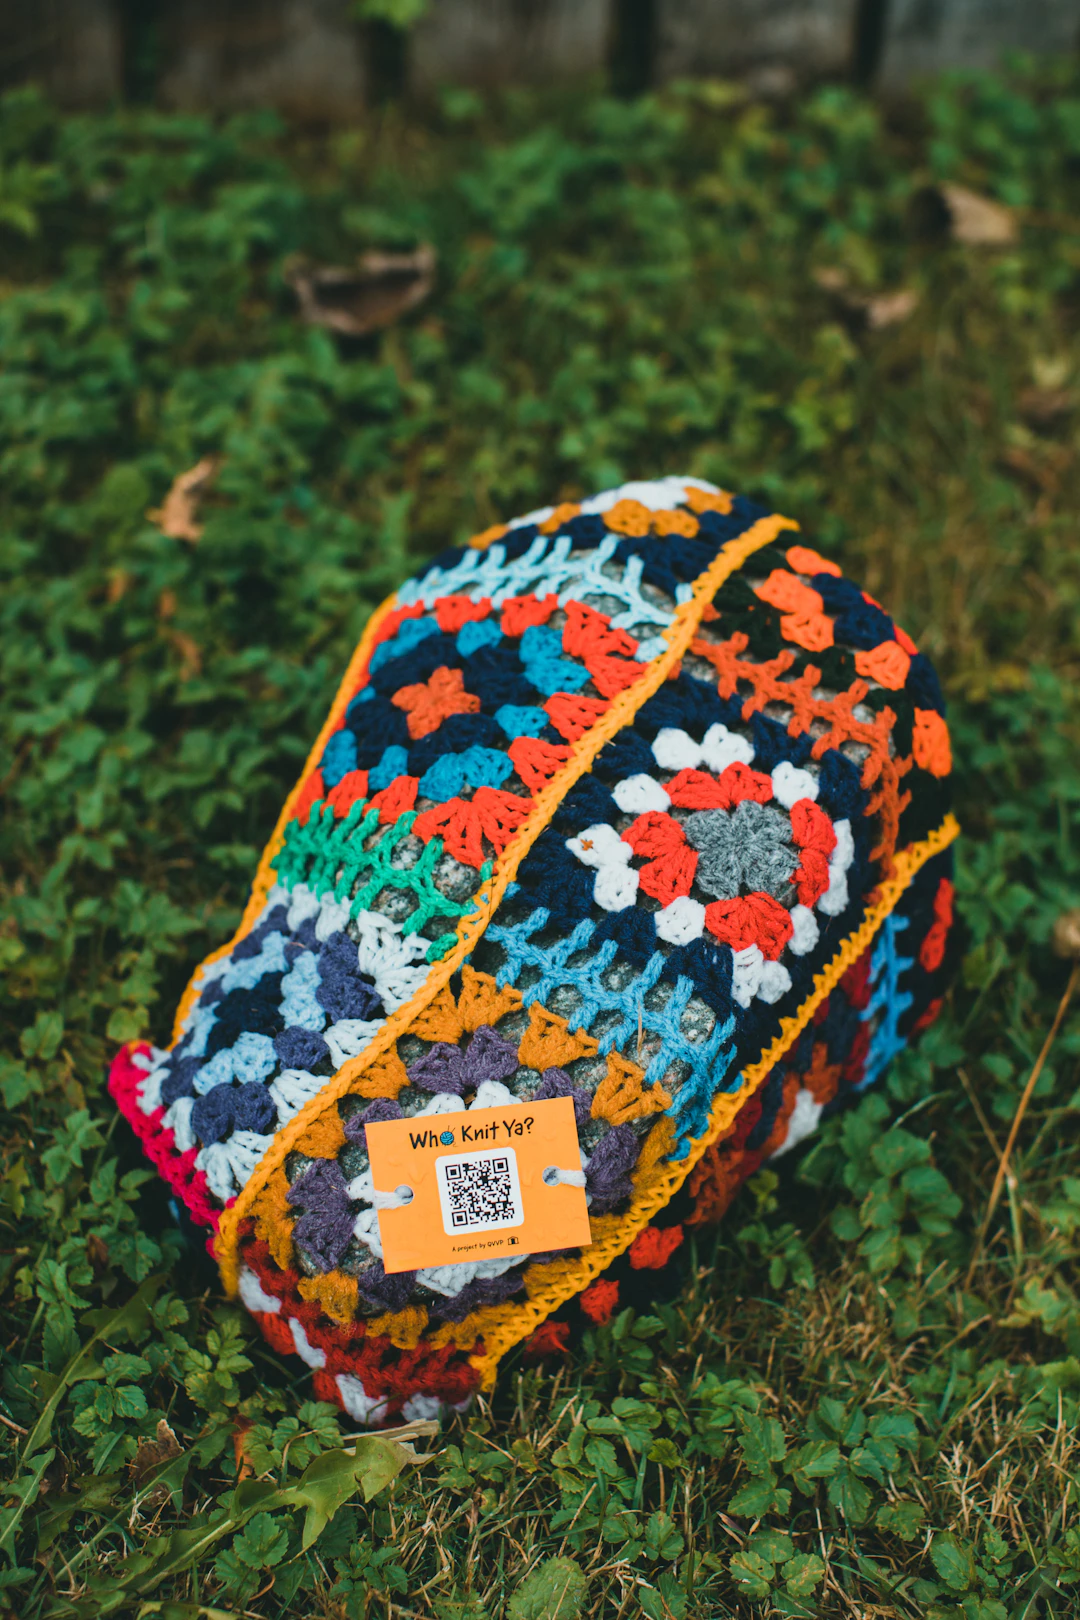
Table of Contents
Crochet Bag Pattern Overview
- Finished size: approximately 30 cm wide, 20 cm high and 10 cm deep (12 × 8 × 4 in), with each finished square measuring 10 cm.
- Construction: 19 identical four-round squares, five joined flat panels, a reinforced upper edging and two short straps.
- Skill level: beginner comfortable with chain stitches, slip stitches, single crochet and double crochet.
- Gauge: one blocked four-round square measures 10 × 10 cm (4 × 4 in).
- Handles: two straps roughly 35 cm (14 in) long before attaching; finished drop varies.
- Terminology: US crochet stitches throughout.
There is no secret shaping or special hardware in this design. I suggest making one whole square first, washing or lightly blocking it according to your yarn care label, and checking the gauge. Once your square is right, the other eighteen will follow the same easy rhythm.
If you would rather work a bag in continuous rounds, my rectangular-base crochet tote tutorial explains that different construction.
Materials and Gauge for Your Granny Square Bag
- 650–800 yards (595–730 m) of worsted-weight #4 cotton yarn in total; cream for edging, joining and straps, plus four or five accent colors.
- 4.5 mm (US 7) crochet hook initially; change hook size to obtain the 10 cm square gauge.
- Tapestry needle, stitch markers, measuring tape, scissors and rustproof pins or sewing clips.
- Optional: lining fabric, matching thread, a magnetic closure and a narrow woven strip to reinforce handles.
Yardage is an estimate with room for color changes and joining. Your yarn choice, stitch tension, the number of tails you leave and the thickness of straps will affect how much you use. Choose a relatively firm cotton rather than an extremely stretchy fluffy yarn if you want a bag that holds its shape.
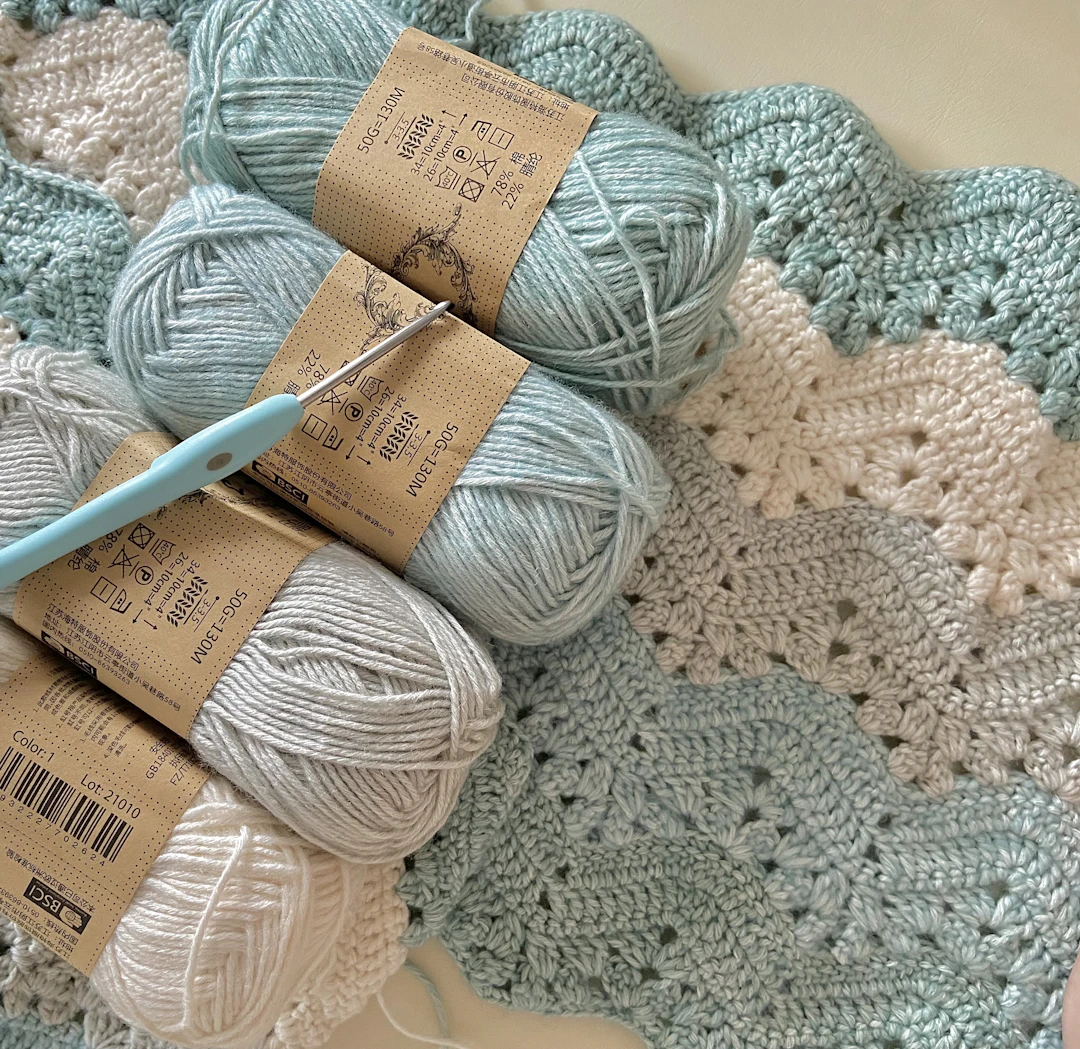
US Crochet Abbreviations
- ch = chain; ch-sp = chain space.
- sc = single crochet; dc = double crochet.
- sl st = slip stitch; st/sts = stitch/stitches.
- rnd = round; rep = repeat.
- 3-dc group = three double crochets into the same space.
Important counting note: the first chain 3 counts as your first double crochet in each granny square round. A joining slip stitch does not count as a double crochet. We count chain-1 side spaces and chain-2 corners separately from the double crochet stitches.
Step 1: Crochet 19 Matching Four-Round Granny Squares
Use your favorite colors for the first three rounds and cream for round 4 on every square. The colors can change between rounds without altering the stitch count. Make your first square, check that it lies flat and measure it after blocking. Aim for a 10 cm square.
Crochet Bag Pattern: Round-by-Round Stitch Instructions
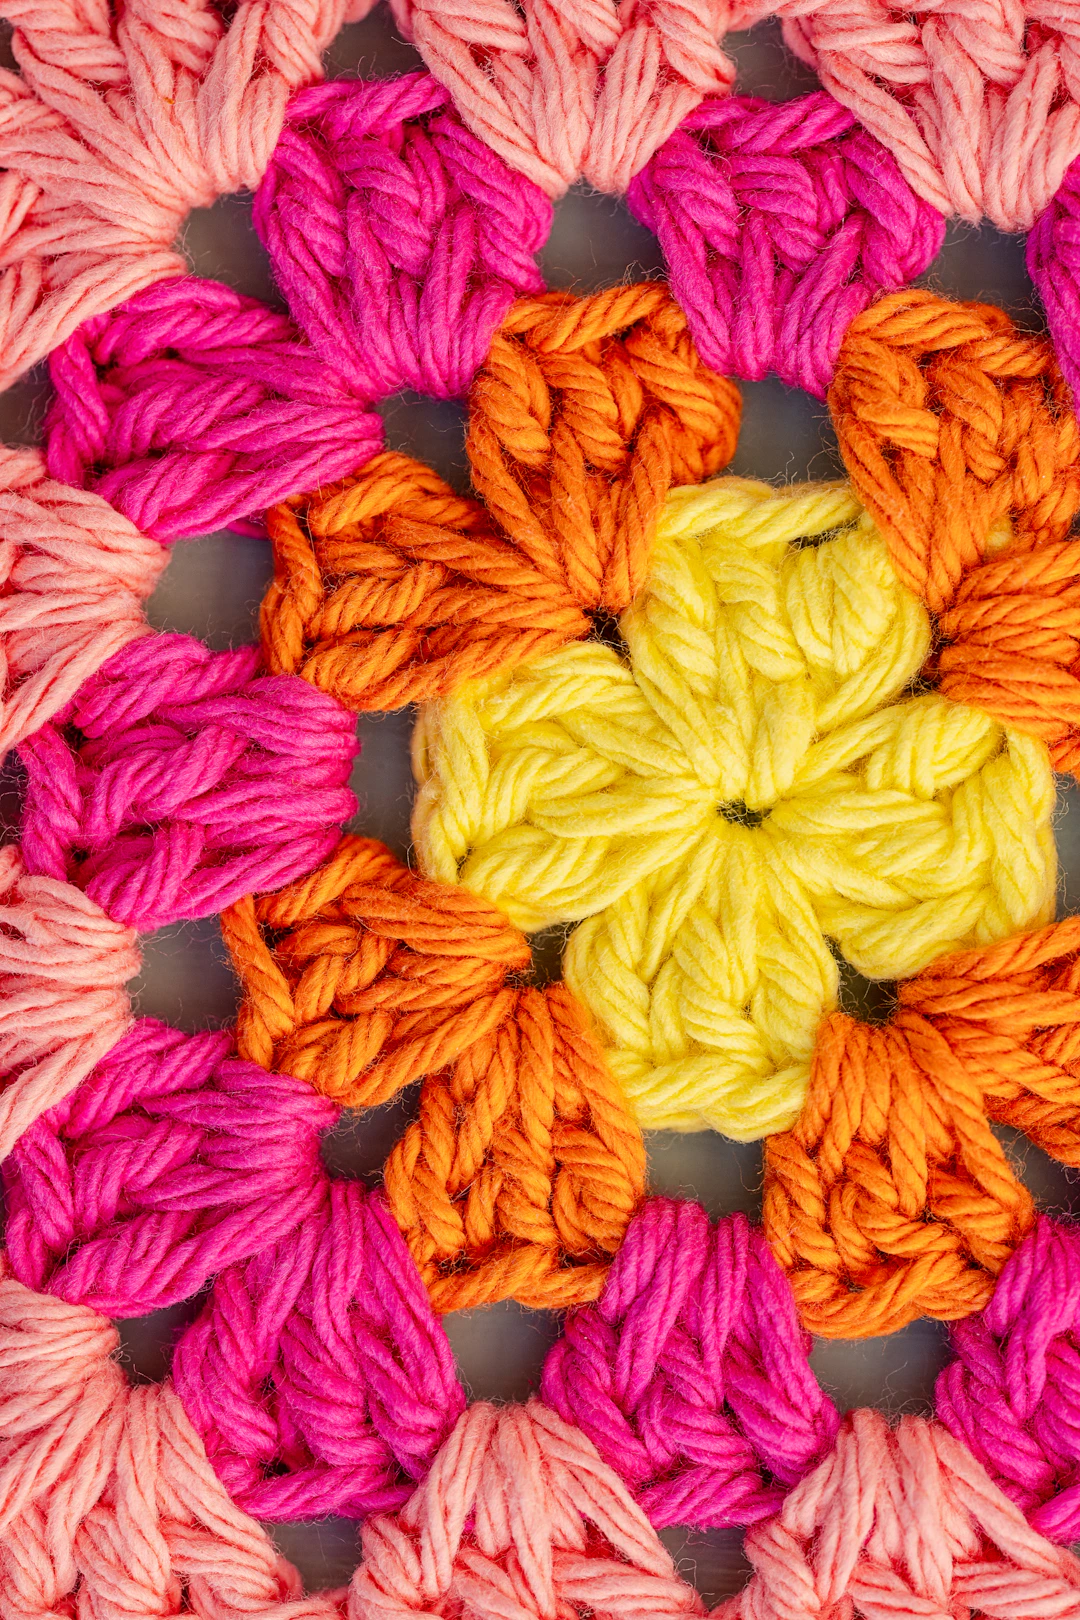
- Round 1: Start with a magic ring. Ch 3 (counts as dc), make 2 dc into ring and ch 2. Repeat [3 dc, ch 2] three more times. Close the ring and sl st to top of first ch 3. Count: 12 dc; 4 ch-2 corners.
- Round 2: Sl st across next 2 dc and into adjacent corner. In this corner work [ch 3, 2 dc, ch 2, 3 dc], then ch 1. In each of the next three corner spaces work [3 dc, ch 2, 3 dc], then ch 1. Sl st to top of starting ch 3. Count: 24 dc in 8 groups; 4 ch-2 corners; 4 ch-1 side spaces.
- Round 3: Sl st across next 2 dc into the first corner space. Work [ch 3, 2 dc, ch 2, 3 dc] there, ch 1, 3 dc in the next side ch-1 space, ch 1. For each of the other three sides work [3 dc, ch 2, 3 dc] in the next corner, ch 1, 3 dc in the single side ch-1 space, ch 1. Join. Count: 36 dc in 12 groups; 4 corners; 8 ch-1 side spaces.
- Round 4: Sl st across next 2 dc into the first corner. Work [ch 3, 2 dc, ch 2, 3 dc] there, ch 1, 3 dc in the next side space, ch 1, 3 dc in the following side space, ch 1. On the remaining three sides work [3 dc, ch 2, 3 dc] in the corner, ch 1, 3 dc in each of the two side spaces with ch 1 after each group. Join. Count: 48 dc in 16 groups; 4 corners; 12 ch-1 side spaces.
Count the four chain-2 corners after each round. They should always appear in the same four positions. The number of three-double-crochet groups grows by four groups per round: 4, then 8, then 12, then 16. This simple check catches a missed space before it turns into a crooked square.
Fasten off and weave the tails into the back of each motif, except where you want a matching cream tail for sewing. I like laying the motifs out in their planned arrangement before using the final cream round, because it is easier to spread colors evenly.
Step 2: Arrange All 19 Squares into a Bag Layout
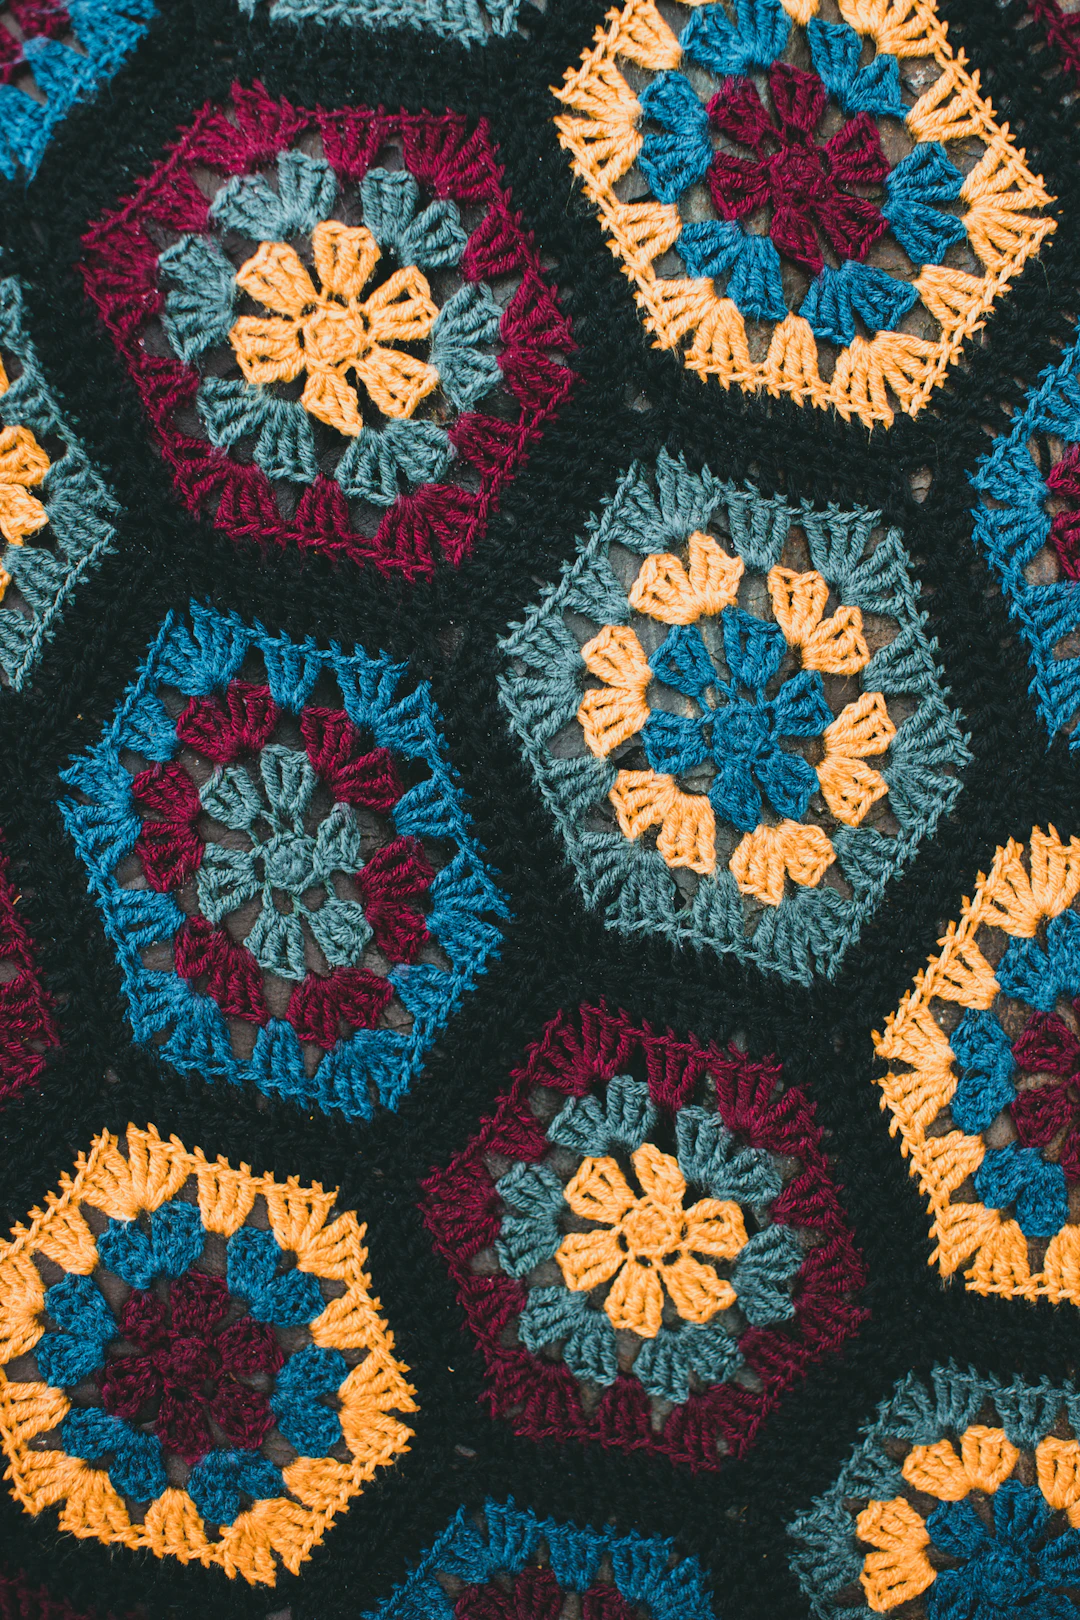
This is the key to getting the measurements right. With 10 cm motifs, build two 30 × 20 cm rectangles for the front and back, two 10 × 20 cm side panels, and one 30 × 10 cm bottom. Set the pieces out flat before joining them.
- Front: 3 columns × 2 rows = 6 squares.
- Back: 3 columns × 2 rows = 6 squares.
- Left side: 1 column × 2 rows = 2 squares.
- Right side: 1 column × 2 rows = 2 squares.
- Base: 3 columns × 1 row = 3 squares.
- Total: 6 + 6 + 2 + 2 + 3 = exactly 19 granny squares.
Move your favorite motifs toward the front and avoid stacking identical color centers all in one corner unless that is the look you want. The last cream round helps tie the patchwork together even if you use yarn scraps that would not normally match.
Step 3: Join the Granny Squares into Five Panels
Put two neighboring squares together with wrong sides touching, keeping the outer cream rounds aligned. Use matching yarn and a yarn needle to whipstitch through corresponding stitches along one full edge. Match the four 3-dc groups and three ch-1 spaces per side, catching the corner spaces securely at both ends.
- For the front, join three squares into one horizontal row, then another row of three; sew those two rows together to make a 3-by-2 panel.
- Repeat the same steps for the back panel. The front and back should have the same dimensions.
- Sew two squares vertically for the left side panel, and two for the right side panel.
- Sew three squares into a horizontal strip for the rectangular bottom panel.
- Lay out all five panels again. The 30 cm sides must match other 30 cm sides, and the 10 cm sides must match other 10 cm sides.
Do not pull the seams so tightly that the squares wrinkle. Small, even stitches give a flexible connection. If a seam draws the panel inward, undo the last section and try with looser tension. Another example of easy bag finishing appears in my Halloween crochet tote bag tutorial.
Step 4: Sew the Front, Back, Sides and Base into a Box
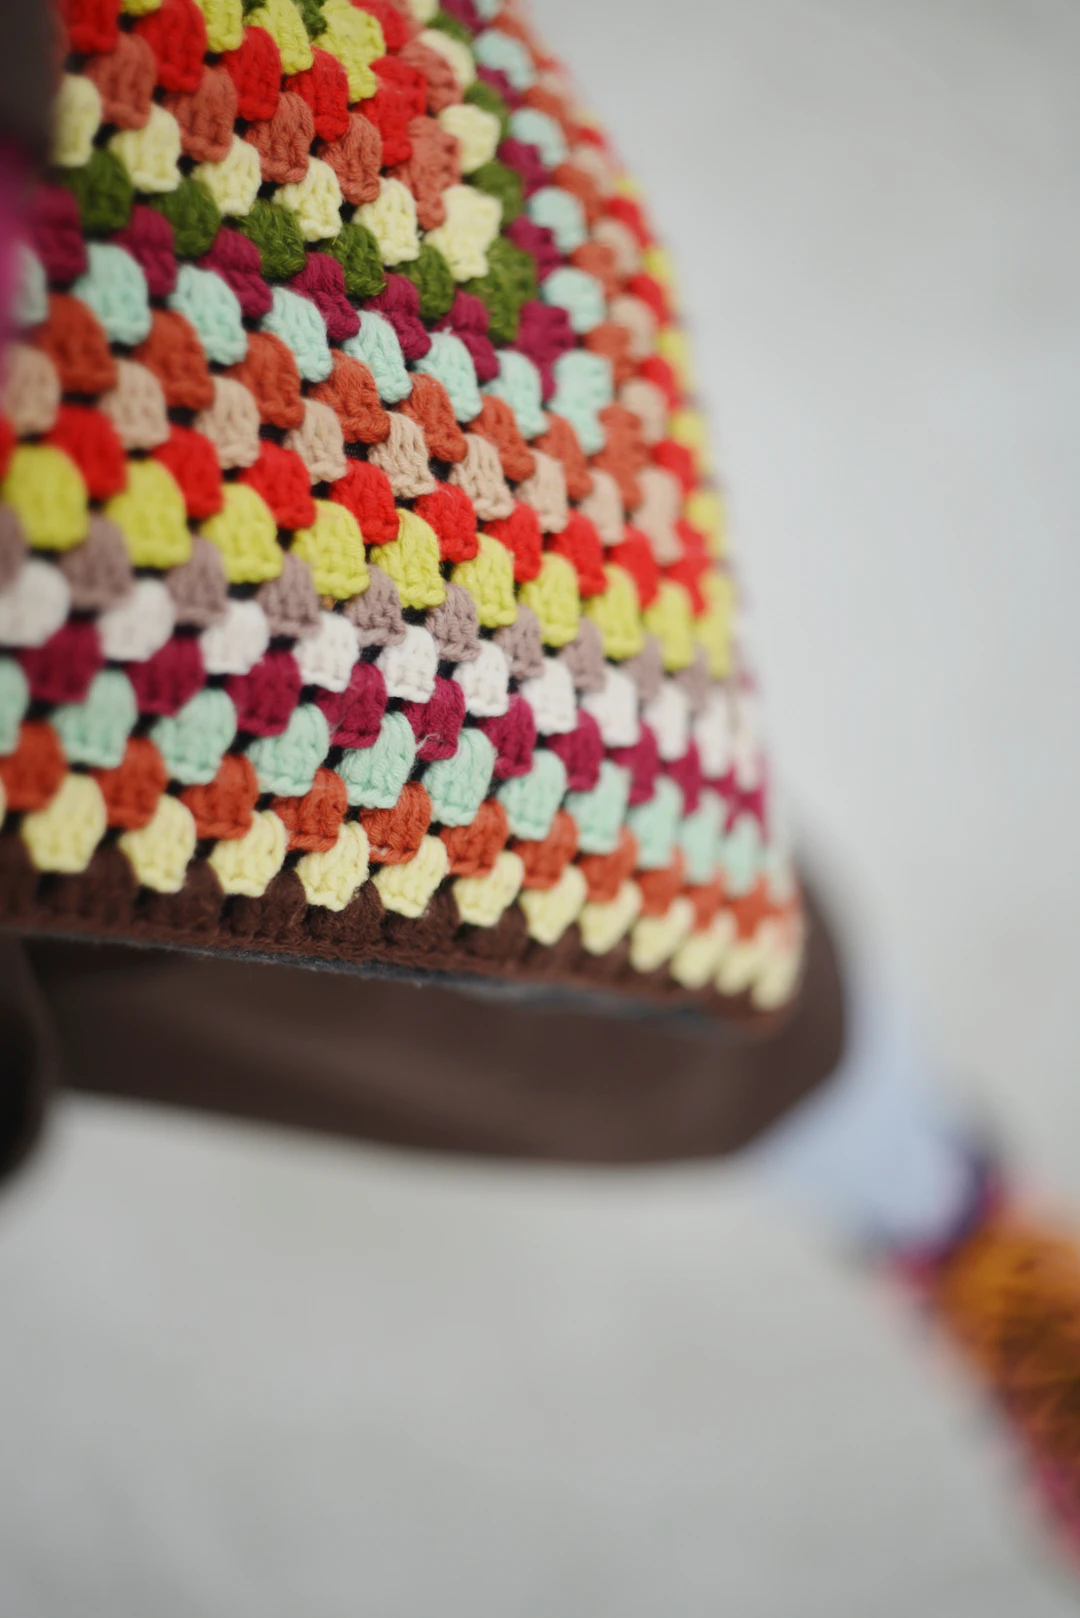
Place the bottom panel horizontally. Sew the long bottom edge of the front to one of its 30 cm edges. Attach the bottom of the back to the other long edge. Next attach the bottom edge of each narrow side panel to the appropriate 10 cm short edge of the base.
Now sew the two vertical edges of the left side panel to the corresponding left edges of the front and back. Repeat for the right side. Check that the outside of the squares faces outward before weaving ends. Your result is a rectangular open-topped bag with a flat base rather than a loose pouch.
The corners deserve extra care because several seams meet there. Stitch through the adjoining corner spaces, secure them without pulling too hard, then turn the bag right side out and check for holes. If you can slip a finger through the bottom corner, reinforce it with a few extra stitches.
Step 5: Crochet the Top Edge in Three Rounds
The bag opening passes across eight square edges: three on the front, one at the left side, three across the back and one at the right side. For this count, work 16 sc along each top square edge: one sc into each of its 12 dc, one sc in each of its 3 ch-1 spaces, and one sc in the corner chain-2 space at the end of the edge. Where seams overlap, distribute stitches evenly.
- Top edge round 1: Join cream yarn at a top corner and work 16 sc for every one of the eight square edges. Join to the first sc. Count: 128 sc.
- Top edge round 2: Ch 1 (not a stitch); sc in every sc around. Join to the first sc. Count: 128 sc.
- Top edge round 3: Repeat round 2. Join and fasten off. Count: 128 sc.
Put a marker after every set of 16 stitches in round 1 if counting all 128 is difficult. The key is a firm, flat top edge. If you see a ruffle, check for accidental increases; if it pulls inward, check whether you skipped stitches beside a seam.
Step 6: Make Two Strong Crochet Handles
Crochet two matching flat straps using the cream yarn. You can change to a smaller hook for firmer fabric. The handles are worked in rows, not rounds, so their length is easy to customize. This version is sized for carrying in the hand or close to the shoulder depending on your body and how the yarn stretches.
- Foundation and row 1: Ch 8. Work 1 sc in the second ch from hook and each chain across. Count: 7 sc.
- Rows 2–70: Ch 1, turn, 1 sc in each of the seven stitches. Repeat for each row through row 70. Count: 7 sc on every row.
- At a strap gauge of roughly 20 rows per 10 cm, 70 rows make a strip about 35 cm long. If your row gauge differs, add or remove complete seven-stitch rows until you reach the length you prefer.
- Work a second identical strap. Leave a long tail at both ends for sewing, or use a fresh strand of cream yarn.
Position the first handle along the inside of the front rim, with its two ends roughly 7 cm from either side of the bag. Sew each end down across at least 3 cm of fabric and several stitches; a rectangle with a diagonal cross is a reliable attachment. Position the second handle the same way on the back. Check that neither handle is twisted before tightening the stitches.
Handles are the first part I check for strength. Do not attach a handle by sewing into only one stitch. If the bag will carry more than a light wallet or yarn, reinforce the attachment from inside with firm cotton fabric or woven tape. Always test the handles gently before loading the bag.
Step 7: Tidy the Seams, Shape the Bag and Add a Lining
Turn the bag inside out and check every joining line, especially the bottom corners. Weave ends through several stitches, changing direction once, and trim only when secure. Turn the bag right side out and stand it on a flat surface to see whether the rectangular base sits evenly.
A fabric lining is optional, but I recommend it if you are carrying keys or little objects. Measure the inside after joining, sew a simple box-shaped cotton lining with seam allowances, and stitch it below the finished top border. A lining also limits sagging and helps keep your belongings from poking through the granny-square openings.
Dampen lightly and reshape if your yarn label allows, then let it dry naturally. Avoid hanging a very wet bag by its straps. One final tug on each handle attachment tells you whether you need more reinforcement before regular use.
Change the Bag Size or Try a Different Yarn
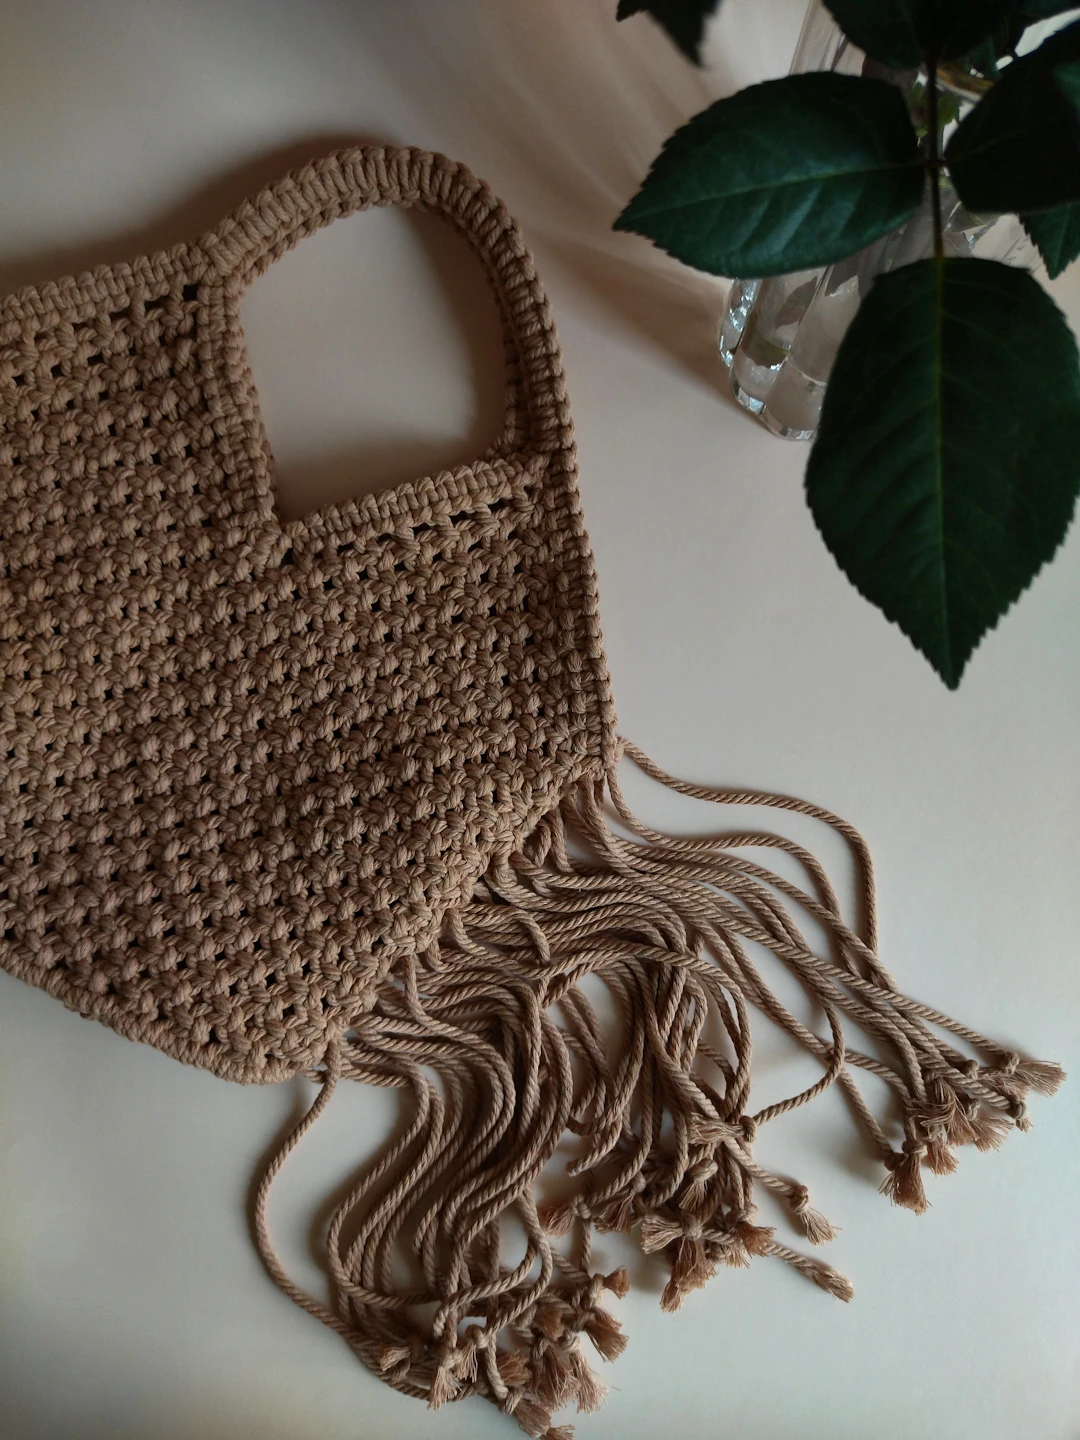
For a wider bag, add one square to each row of the front and back and one extra square to the bottom strip. That adds five squares, changing the total from 19 to 24 squares. Your bag becomes about 40 cm wide, but the height and depth stay 20 and 10 cm if your square gauge remains the same.
For a taller bag, add one row of three squares to both the front and back, plus one extra square to each of the two side panels. That adds eight squares for 27 total. You will need more yarn and should repeat the top-edge count for the new opening if you modify the width.
To make a mini shoulder bag, keep the same 19-square layout but use smaller 8 cm motifs. Finished dimensions should be around 24 × 16 × 8 cm before seaming adjustments. A long crossbody strap needs different measurements and more reinforcement than the two short handles provided here.
Cotton and linen blends can look beautiful, but test how the fabric stretches before making the full bag. Soft wool and acrylic may drape more. If you prefer another designer’s printable project, you can browse the Bag of Hue Scraps digital pattern on Etsy. It is a separate paid pattern, not the source of these instructions.
Common Mistakes and How to Fix Them
- My square has the wrong number of sides: check for exactly four corner ch-2 spaces and follow the group counts for each round. Undo to the last correct corner.
- The squares will not lie flat: confirm your hook size and tension; block a test motif before sewing.
- The seams pucker: sew corresponding stitches without pulling the thread tight; rework a stiff seam.
- My bag is wider at the top: recount all 128 sc across the rim and remove unwanted increases.
- The bottom corners have holes: secure the meeting corner spaces with a few more stitches.
- My handles stretch: use a smaller hook or firm woven reinforcement and sew their ends farther down the bag.
You may find that joining is harder than making the squares. That is normal: it requires more attention to corners and equal lengths. Practice joining two spare motifs first, or work another small open-fabric project such as my step-by-step crochet mesh top to build confidence working with consistent stitches.
Crochet Bag Pattern FAQ
Can a beginner follow this granny square bag tutorial?
Yes, provided you know chains, single crochet and double crochet. Start with one square, then join a sample pair before making all nineteen.
How many squares are needed for this bag?
Exactly 19 four-round granny squares. There are six each on the front and back, two per side, and three for the bottom.
Which yarn works best for a structured crochet handbag?
Medium-weight cotton is a practical choice because the fabric can hold shape well. Always test a swatch: the yarn’s twist and your tension also matter.
Do I need to line the crochet bag?
A lining is optional for larger contents such as yarn. It helps contain little objects that might slip through the granny-square openings.
Can I change the handle length?
Yes. Keep seven single crochet stitches in each handle row and add or remove rows until the strap measures what you want. Sew both handles down securely before use.
Image Credits and Final Notes
These Unsplash photographs illustrate colors, crochet texture, tools and bag styles. They are not step-by-step photos of this precise construction. Credits: Jonathan Cooper, Cary Bates, Joy Ru, Liana S, and Olga Bondarenko.
I hope you enjoy choosing your colors as much as stitching them together. Follow the count on your first square, arrange the 19 pieces before sewing, and take a little time to reinforce the base and straps. Those small choices make the difference between a pretty crochet sample and a bag you can confidently carry.