
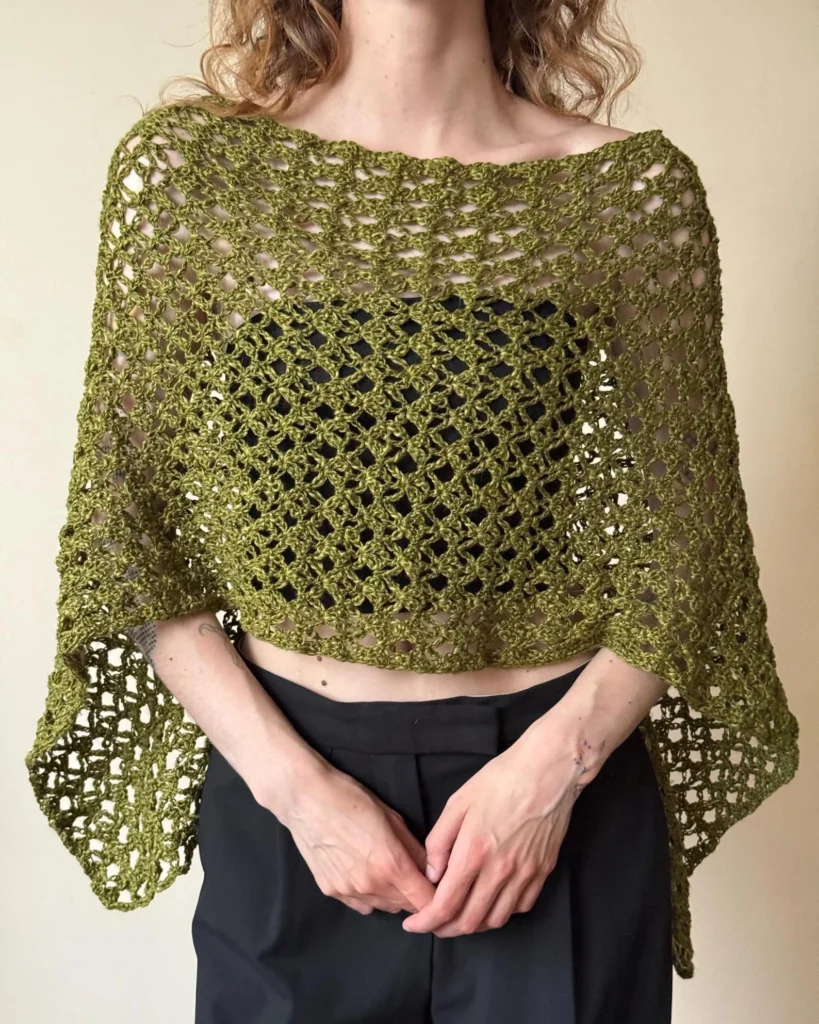
A crochet a mesh top is one of those projects that looks much more complicated than it needs to be. The open stitches create plenty of texture and drape, while a simple rectangular construction means you can concentrate on keeping your stitches even instead of worrying about complicated shaping.
For this beginner-friendly version, we’ll crochet an airy rectangle using a simple mesh repeat, then join it in a way that leaves a generous opening for the neckline and arms. The finished piece can be worn loosely across both shoulders, shifted to one side, or layered over a tank top or swimwear.
The reference garment uses this same versatile idea: an open rectangular layer that changes silhouette depending on how it is positioned on the body.
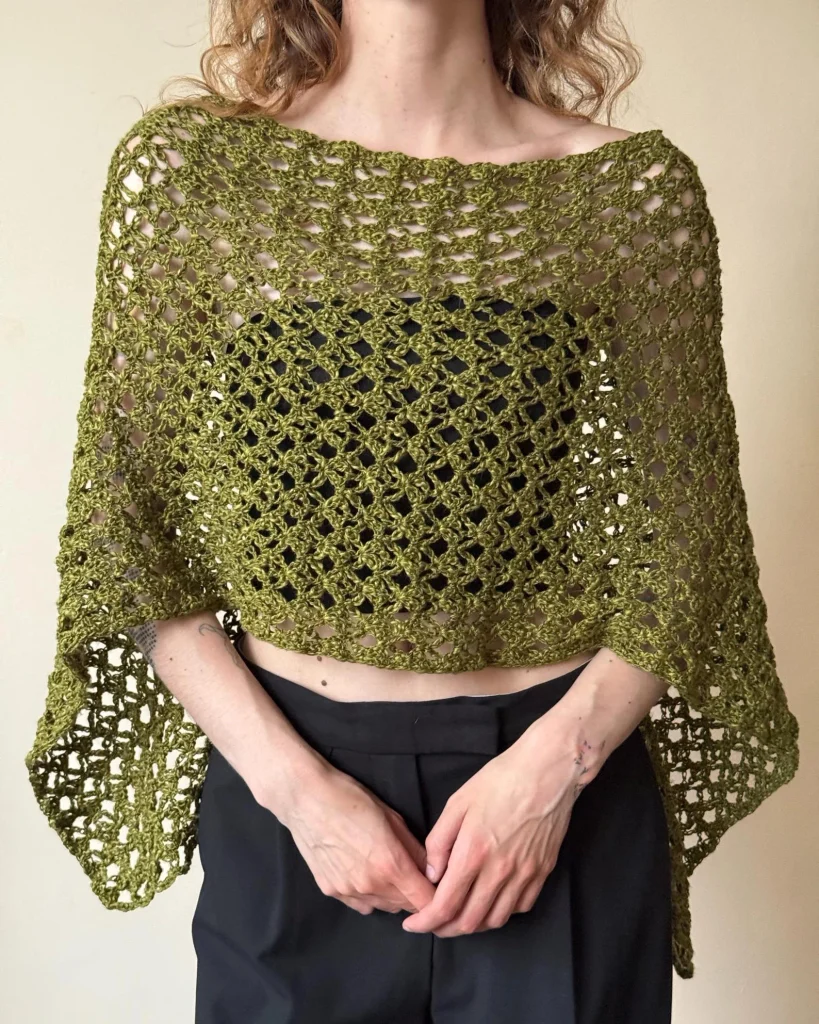
Table of Contents
Crochet a Mesh Top Project Overview
This pattern uses US crochet terminology.
Skill level: Beginner
Construction: One large mesh rectangle with minimal finishing
Fit: Loose and draped
Suggested finished rectangle: About 28.5 × 16.5 inches (72 × 42 cm), or adjusted to your preferred fit
Main technique: Chain-space mesh worked in rows
The 28.5 × 16.5-inch measurement comes from the reference garment rather than a tested sample of this pattern. Treat it as a useful starting point, especially because yarn, tension, body measurements, and desired drape can all change the finished fit.
If you enjoy this loose style of garment, you might also like this crochet poncho pattern.
Materials You’ll Need
Choose a yarn that produces soft fabric rather than a stiff mesh. The inspiration garment uses a blend of 30% linen, 36% viscose and 34% cotton, which helps explain its light, flowing appearance.
For your version, you will need:
- Lightweight or DK yarn with good drape
- Crochet hook appropriate for your yarn
- Scissors
- Yarn needle
- Stitch markers
- Measuring tape
A cotton, linen, viscose, or blended plant-fiber yarn is a good place to start for a warm-weather top.
For the hook, check the recommendation on your yarn label and make a swatch first. If the mesh feels too firm, moving up a hook size can create a looser fabric.
Crochet Abbreviations
ch – chain
dc – double crochet
sp – space
st/sts – stitch/stitches
rep – repeat
FO – fasten off
The turning chain counts as a double crochet in the instructions below.
Before You Start: Make a Mesh Swatch
The most important measurement here is the finished fabric, not a particular number of starting chains.
Make a small sample using the mesh repeat below. Wash or gently block it as you intend to treat the finished top, then measure it.
Your goal is an airy fabric that bends and drapes easily.
If it feels stiff, try a larger hook. If the openings are much larger than you want, try a smaller hook.
How to Crochet a Mesh Top Step by Step
Step 1: Decide Your Finished Width
The reference piece is approximately 28.5 inches wide when laid flat. You can use this as inspiration rather than treating it as a mandatory size.
For a more customized top, hold a measuring tape across the area you want the piece to cover and decide how much loose drape you prefer.
Step 2: Crochet the Foundation Chain
Make an even number of chains, then add 3 chains for turning.
Do not make the foundation chain too tight. A tight starting edge can pull the bottom of an otherwise beautifully draped mesh top inward.
Step 3: Work the First Mesh Row
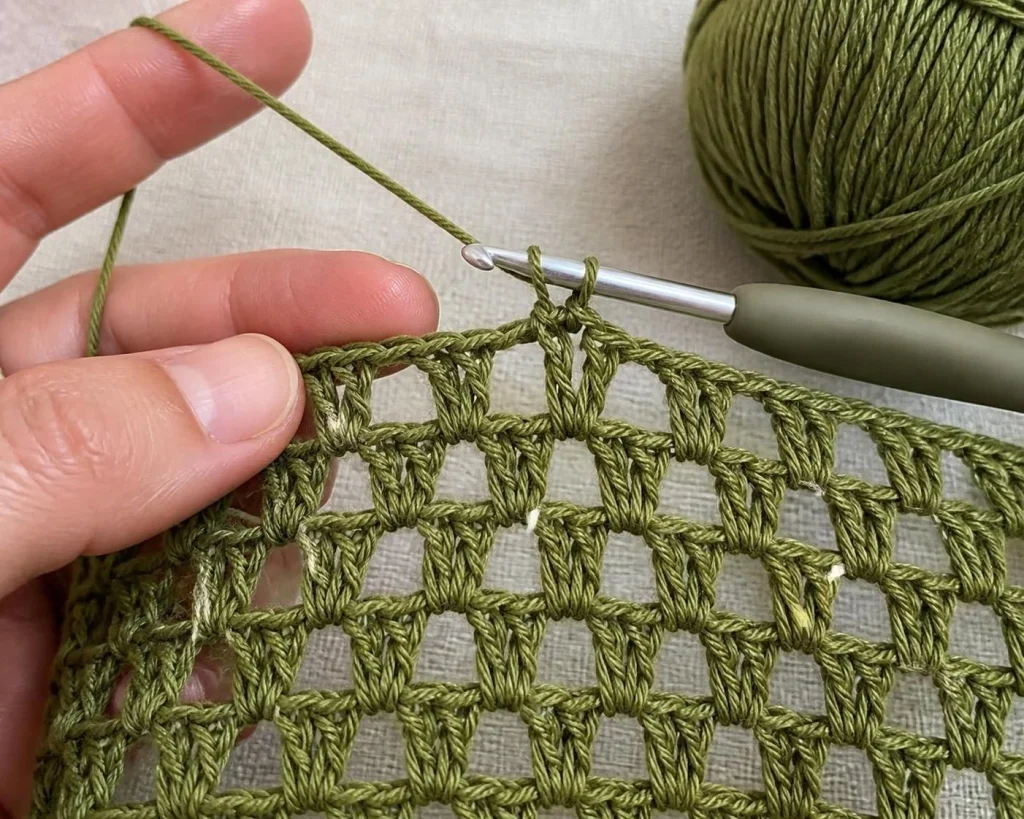
Row 1: Dc in the 6th ch from the hook, ch 1, skip 1 ch, dc in next ch. Repeat from * to * across. Turn.
You should now see small open spaces forming between the double crochet stitches.
The important thing is consistency. Each mesh section is created by a double crochet separated from the next double crochet by a chain-1 space.
Step 4: Continue the Mesh Pattern
Row 2: Ch 4. Skip the first ch-1 sp, dc in next dc, ch 1, dc in next dc. Repeat across, ending with a dc in the turning chain. Turn.
Repeat Row 2 until your rectangle reaches the desired length.
For an inspiration piece similar in proportion to the reference garment, aim for approximately 16.5 inches (42 cm) in the other direction.
Pause every few rows and count your mesh spaces. Accidentally missing a space or adding an extra stitch can gradually change the width.
Step 5: Check the Rectangle
Lay your work flat without stretching it.
Check that:
- Both side edges are reasonably straight.
- The mesh openings remain consistent.
- The foundation edge isn’t noticeably tighter.
- The fabric has enough drape to fall comfortably over the shoulders.
Small variations are normal in handmade crochet, but a rectangle that gets steadily wider or narrower usually means a stitch has been added or missed.
Step 6: Create the Wearable Shape
This is where the simplicity of the design becomes useful.
The reference garment is described as having a simple rectangular construction and can be positioned as a boat-neck top, off one shoulder, or as a relaxed poncho.
Because the source does not provide its exact assembly method, don’t assume a specific seam placement is required to duplicate it.
For this beginner interpretation, place the finished rectangle around your shoulders and use stitch markers to experiment with the opening before permanently joining anything. Leave enough room for your head and comfortable shoulder movement.
Once you’re happy with the placement, join only the areas needed to keep the top secure using slip stitches or a yarn needle.
Try it on again before weaving in the joining yarn.
Step 7: Finish and Block
Fasten off and weave the yarn tails through several nearby stitches.
Gently block the top according to your yarn’s care instructions. Blocking is particularly useful for mesh because it helps the openings settle into a more regular shape.
Avoid aggressively stretching the fabric unless you intentionally want a larger, more open result.
How to Adjust the Size
This project is easier to customize by measurement than by clothing size.
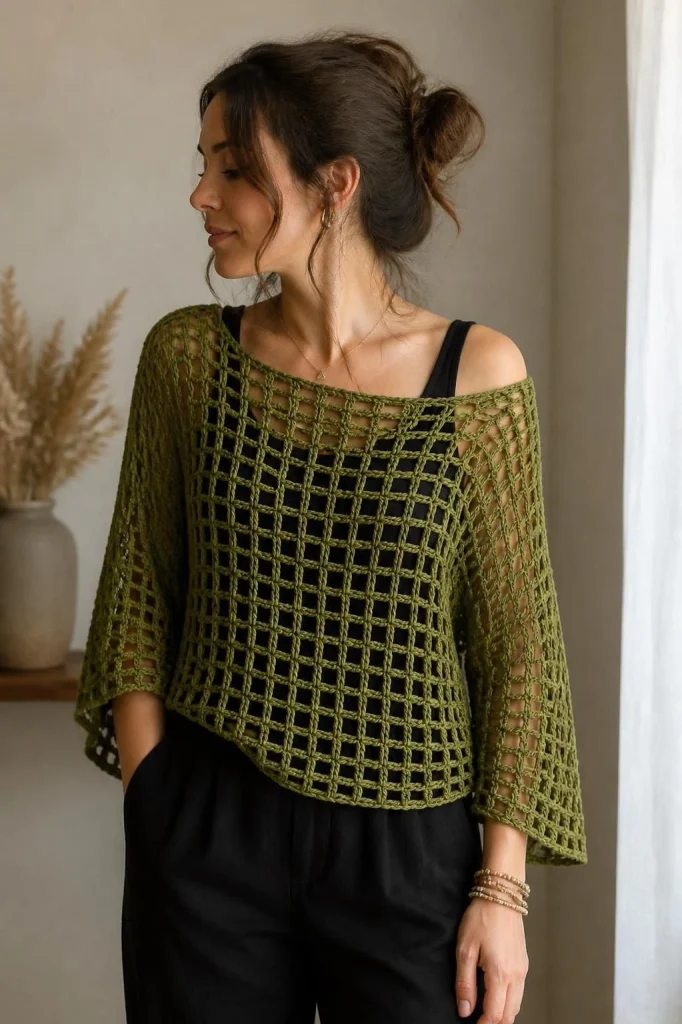
For more coverage, make the rectangle wider or longer. For a cropped result, stop sooner. If you want the mesh to fall farther down the arms, add width before finishing.
Remember that changing yarn or hook size also changes the finished dimensions. That’s why measuring your actual fabric is safer than relying on a universal starting-chain count.
Common Beginner Problems
My top keeps getting narrower
You are probably missing the final stitch at the edge of one or more rows. Use a stitch marker in the turning chain so you can easily identify where the final stitch belongs.
My mesh is stiff
The hook may be too small for the yarn or your tension may be tight. Make another swatch with a larger hook and compare the drape.
My holes are uneven
Watch the chain spaces carefully. A consistent pattern of ch 1, dc in the next dc will keep the grid regular.
The neckline doesn’t sit correctly
Don’t permanently seam the piece immediately. Pin or mark the proposed joins, put the garment on, and adjust the opening until it sits comfortably.
Ways to Style Your Crochet Mesh Top
One of the nicest features of this type of construction is that you aren’t limited to one look. The reference piece is specifically shown and described as wearable off one shoulder, as a boat-neck top, a relaxed poncho, or as a light layer over other clothing or swimwear.
Try it over a fitted tank when you want the stitch pattern to stand out, or use it as an airy summer layer.
For more projects built around relaxed crochet silhouettes, browse the crochet pattern collection.
Final Thoughts
A crochet a mesh top doesn’t need complicated garment shaping to look interesting. An open stitch pattern, soft yarn and a simple rectangle can create a lightweight piece with plenty of movement.
The key for beginners is to work from measurements rather than chasing an exact stitch count. Swatch first, keep your mesh spaces consistent, measure as you crochet, and test the positioning with stitch markers before making permanent joins.
For visual inspiration, you can also view the original handmade crochet mesh top listing on Etsy and the boho mesh top crochet tutorial you provided on YouTube.